Better Ski-Trip Photos Without Interrupting the Slope
Good ski-trip photographs do not require filming while descending or handling a phone on a moving lift. Plan a few short sessions in suitable stationary visitor areas and put the camera away during transport and skiing. This is an original photography-logistics framework for an operating staffed resort, not ski instruction, a filming permit or a guarantee that a particular terrace is open. Follow the resort's current rules and staff guidance.
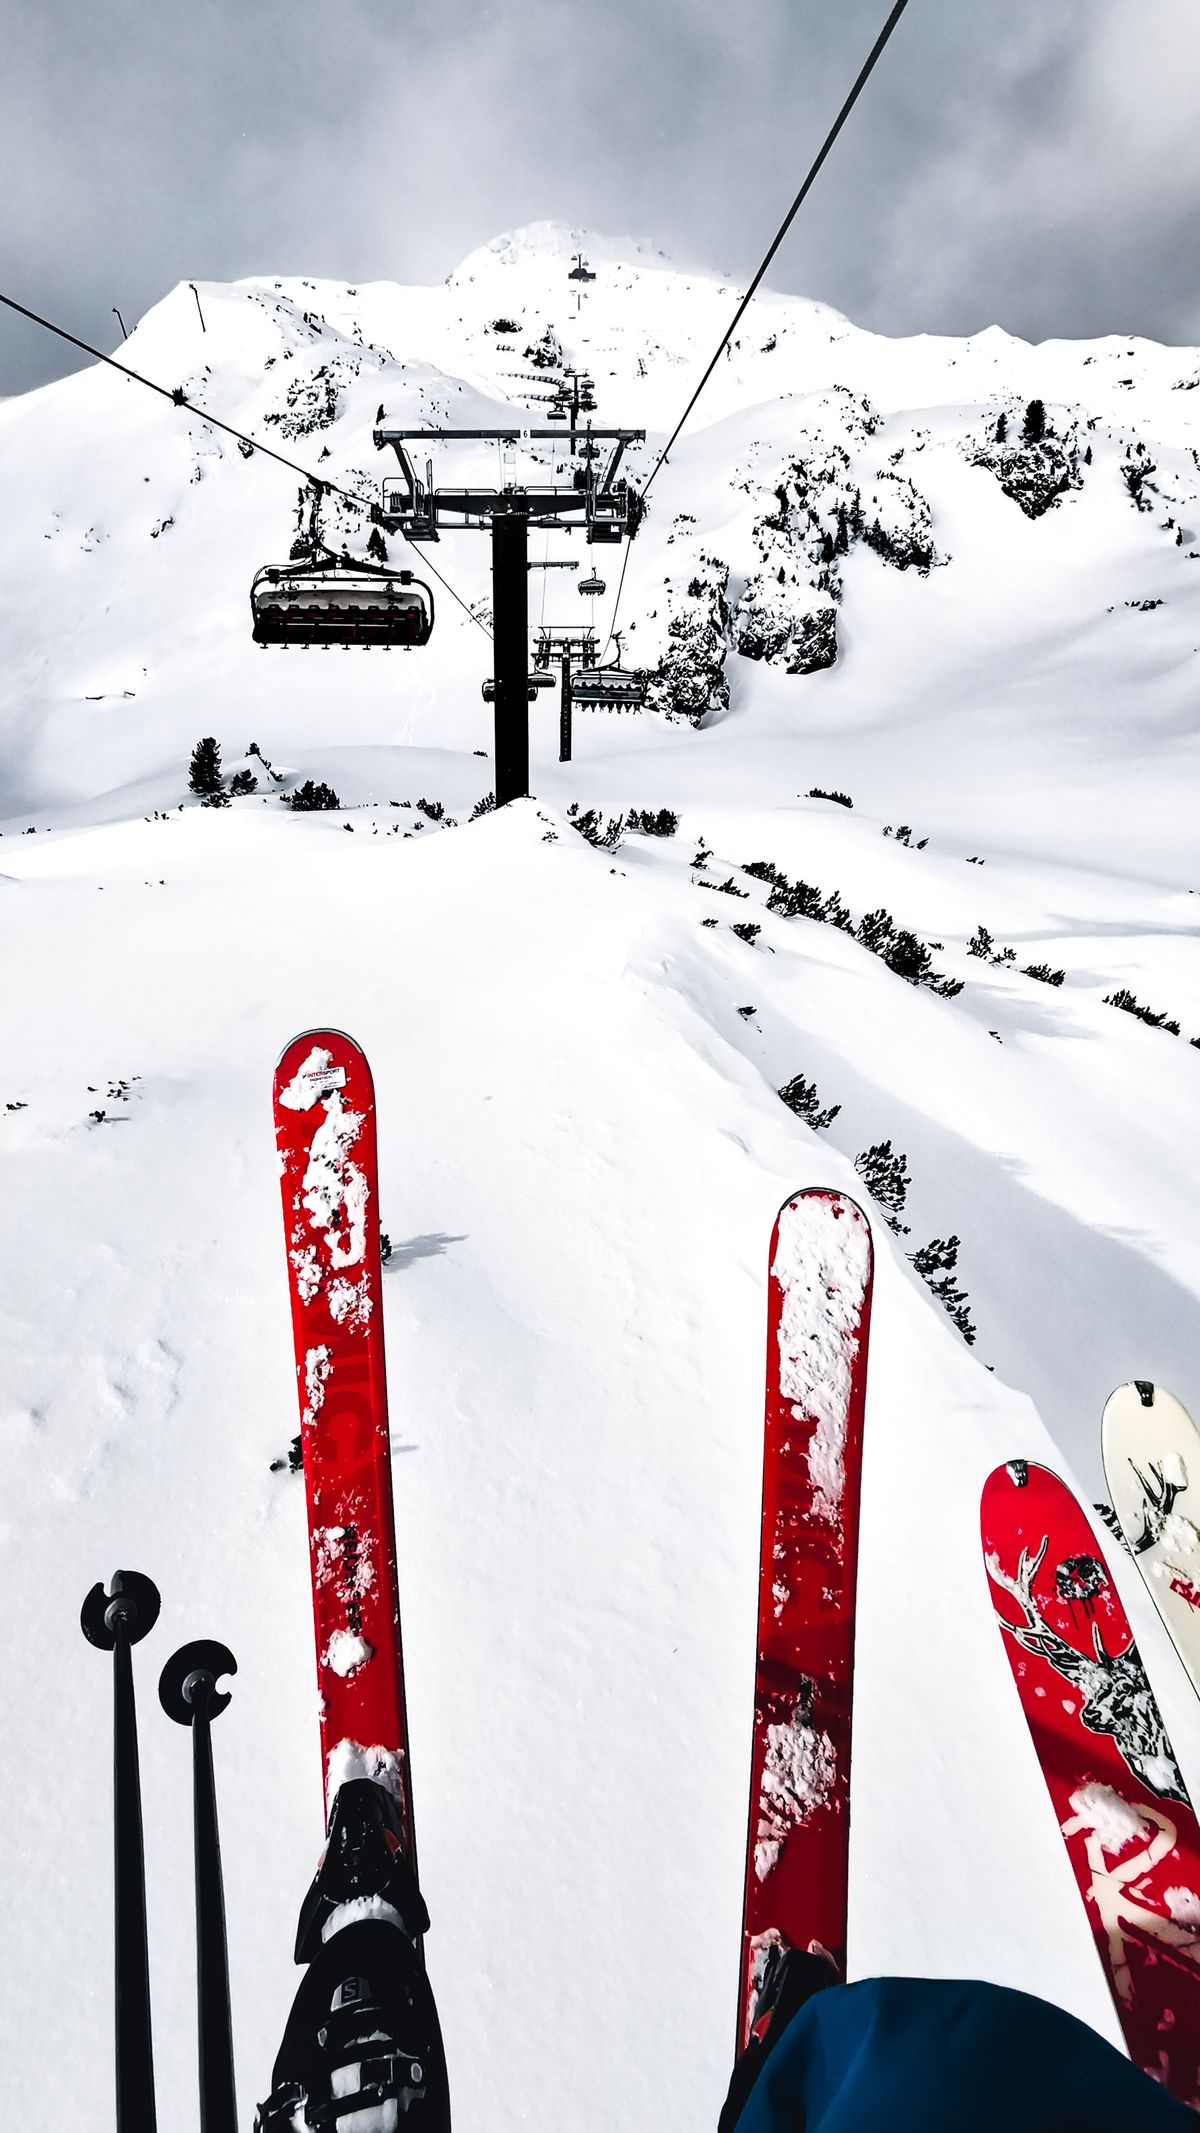
Photo: Pexels · Pexels License. Illustrative photograph of the subject; not a tested result, current condition report or endorsement. Display may crop the original.
Choose the photograph before choosing the location
Decide whether you want a group portrait, a mountain backdrop, equipment details or a record of the learning day. Most of those can be made at the base or an approved visitor area without entering moving ski traffic. Keep the list short so photography does not take over the day. A beginner does not need an action image to document progress. A calm portrait after the lesson can tell the story more accurately than a staged image beyond the skier's ability.
Ask staff for a suitable stationary area
Use the current resort map and ask where visitors may stand without obstructing entrances, queues, paths, equipment racks or ski movement. A scenic edge is not automatically a photo zone. Follow signs and closures, and do not leave permitted areas for a cleaner background. The responsibility code emphasizes visible, nonobstructive stopping, but a first-trip photo plan can be simpler still: keep planned sessions away from active slopes and use appropriate staffed visitor settings.
Keep lifts and active skiing camera-free
Stow the device securely before loading, riding and unloading, and follow lift staff instructions. Do not reach for a phone, attach equipment or pose on a moving lift. Do not ask a companion to film while skiing or stop in a trail to arrange a portrait. If a professional action-photo service is offered, ask the resort about its actual arrangements instead of improvising. A photograph is optional; attention to the activity and current instructions is not.
Use a short session around a natural break
Place photography after check-in, during an appropriate warm break or after equipment has been returned, depending on the permitted setting. Avoid making the lesson group wait while you adjust composition. For an illustrative plan, choose one five-minute portrait opportunity rather than repeated stops throughout the morning; the duration is a planning assumption, not a safety threshold. Agree in advance that cold, queues or staff instructions can end the session immediately.
Simplify equipment and handling
Choose a phone or camera you can use while standing comfortably in the selected area. Test the controls before the trip and avoid a complex bag that must be spread across a walkway. Ask whether tripods or commercial-looking equipment require permission. Keep gloves, straps and loose items managed according to the device and resort guidance. Do not alter ski equipment or protective gear to mount a camera without the relevant manufacturer and resort information.
Make portraits without removing necessary protection
Choose a composition that works with the clothing and equipment being worn. Do not ask a beginner to remove protection or carry unsecured equipment for a more polished image. If the group wants a relaxed clothing photograph, use an appropriate indoor or base setting after the activity. Ask consent before photographing identifiable people, especially children, and avoid including unrelated guests prominently. A short comfortable session is better than repeated poses that leave someone cold or distracted.
Treat weather and visibility as creative limits
Bright snow, flat light and cloud can change the image, but they are not reasons to enter a closed area or move to a more exposed location. Make a test image from the permitted stationary position and adjust the camera using its own guidance. Do not let a desired background dictate a route beyond the group's ability. If the weather is poor, take a simple indoor or base-area record and keep the mountain scene for another day.
Publish an honest account
Keep the real date and location with the file, and describe the photograph as a portrait, illustrative scene or actual activity record as appropriate. Do not use another resort's image and imply it records this trip. Avoid presenting a beginner portrait as proof of technical competence or claiming that a staged image demonstrates a taught skill. Save the originals, then put the device away. The most useful record of a first trip can be a few accurate photographs and a short note about the lesson.
Your working checklist
Checkmarks stay in this browser when storage is available. They do not submit information or complete a purchase.
Put it into practice
- Choose a few photographs that can be made without action filming.
- Ask staff for a suitable permitted stationary visitor area.
- Stow devices before skiing and all lift movements.
- Place a short session around a natural break.
- Use simple equipment without obstructing paths.
- Keep participants warm and obtain consent.
- Label the actual date, location and context honestly.
Before you finish
- No planned session is on an active slope.
- No device handling occurs on a moving lift.
- The selected area is permitted and unobstructive.
- Keep photographs as a trip memory; use your instructor’s assessment to choose the next lesson.
Common questions
Can I film while learning to ski?
Keep this first-trip plan focused on suitable stationary areas and follow the instructor's directions. Do not divide attention between skiing and a handheld camera. Ask the resort about any appropriate managed photography service.
Is the side of a trail a good portrait spot?
Do not assume so. Visibility, traffic and resort rules matter. For planned photographs, use an appropriate visitor area identified through staff guidance rather than improvising a stop on an active slope.
Can I take a phone out on a chairlift?
This plan keeps devices stowed through loading, riding and unloading. Follow lift instructions and ask staff for help when needed. A moving lift is not a planned photography location.
What if the weather ruins the mountain background?
Use a simple permitted base or indoor setting and keep the session short. The trip record does not need a dramatic backdrop. Do not change routes or enter unsuitable areas to recover a photograph.