What to Wear on a First Ski Trip: Build a Working Layer System
A first ski outfit is a system for the conditions you expect and the places you will wait, move and rest. Start with the resort forecast and the clothing you can obtain, then check how the pieces work together. This guide offers an original packing and fitting method rather than a universal temperature chart. Your lesson provider can advise on its requirements, and current severe-weather instructions always take priority over an outfit plan.
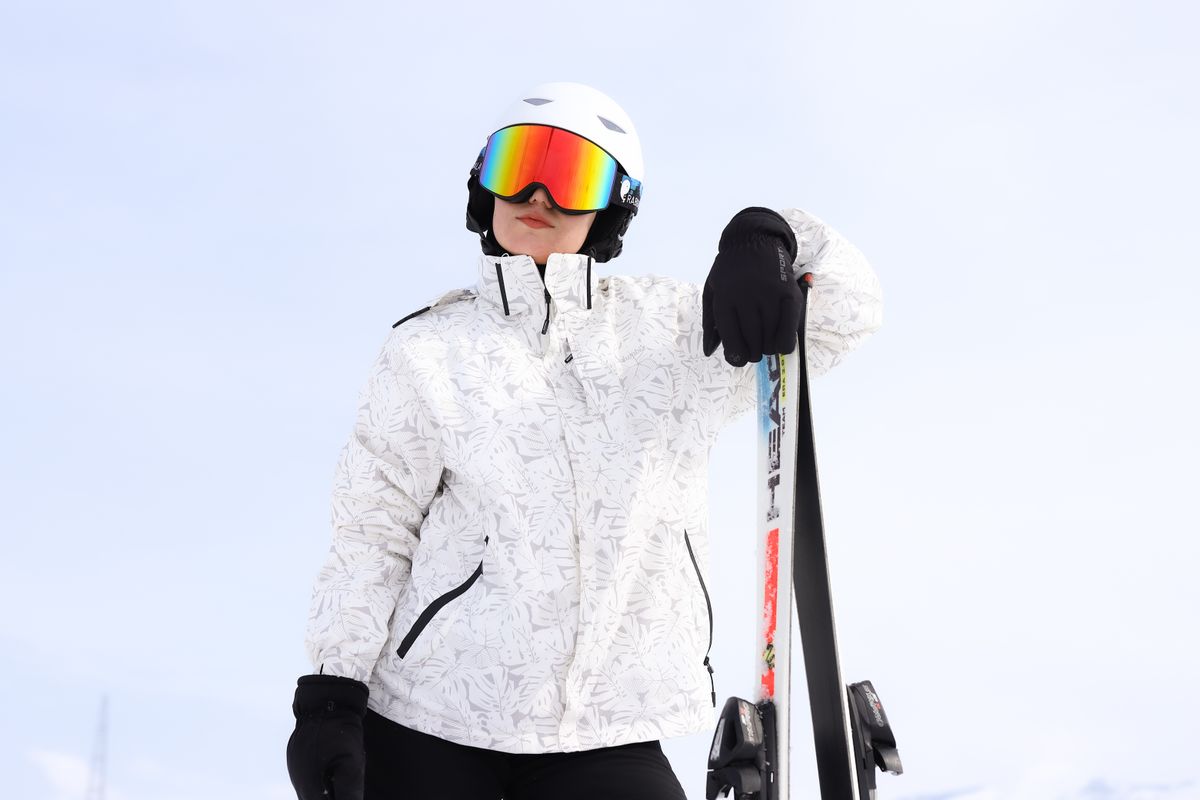
Photo: Pexels · Pexels License. Illustrative photograph of the subject; not a tested result, current condition report or endorsement. Display may crop the original.
Plan for the resort location, not the nearest city
Check the official resort conditions and a forecast appropriate to the mountain location. A valley forecast can describe a different situation from a lift-served teaching area. Note the expected precipitation, wind and any operating notice, then ask the school where beginners usually spend the session. Do not use a single temperature screenshot from several days earlier as a complete clothing decision. Recheck the evening before and again before departure.
Start with a manageable next-to-skin layer
Choose clothing intended to manage moisture during winter activity and make sure it is comfortable under the rest of the outfit. REI's clothing guidance discusses wool and synthetic options; the point is to choose a functional system you can actually wear. Check seams and waistbands with the outer layers on. More items are not automatically better if they restrict movement, create bunching or are impossible to adjust at the lodge.
Give the middle layer a clear job
Lay out a fleece, insulated piece or other suitable midlayer and test it under your outerwear. Decide where it will go if you remove it indoors or if the day's conditions differ from the forecast. A layer that cannot fit in your permitted storage or bag becomes a practical problem. Borrowing or renting appropriate clothing may be an option, but inspect fit and condition rather than assuming borrowed sizes will work.
Check the outerwear as a complete combination
Try the jacket and snow pants together with the actual base and middle layers. Check that you can sit, bend and reach without leaving large gaps or straining closures. Look at the product's intended winter use and weather protection instead of judging by color or thickness. Ask the school or rental provider about clothing requirements. Keep everyday jeans and casual city coats for the journey unless they are explicitly suitable for the conditions and activity.
Test socks, gloves and sleeve openings together
Bring appropriate ski socks and have rental boots fitted with the pair you intend to use. Try gloves with jacket cuffs and check that you can use necessary zips without removing everything. Have a dry spare pair available in lodge storage if practical. Bulky layering inside boots or tightly stacked clothing can undermine a fit assessed at the rental shop, so ask staff how they want trouser cuffs and other layers positioned.
Fit headwear around the actual helmet and goggles
Use a helmet suitable for the activity and fitted according to the manufacturer and rental team's instructions. Bring the goggles when checking the combination: the pieces should work together without pushing one another into an uncomfortable position. Do not add bulky headwear after a helmet has been fitted and assume the fit remains correct. Ask about any thin layer you intend to wear underneath and have the complete setup checked.
Pack a dry return system
Your return bag has a different purpose from the on-snow outfit. Put ordinary footwear, dry socks and comfortable travel clothes where they will stay dry, using the resort's permitted locker or storage arrangement. Add a separate place for damp items so the rest of the bag does not become wet. Check whether the lodge accepts unattended bags; a large pile near a table is not a storage plan.
Rehearse the outfit before the departure morning
Do a short indoor check with every item you will wear together. Open the pockets you need, locate your ticket and confirm that important items cannot fall out when you sit. Remove unused accessories and anything that dangles. Write two practical responses: where you can add or remove a layer, and where you will go if your clothing becomes wet or uncomfortable. Neither response should depend on continuing up the mountain first.
Your working checklist
Checkmarks stay in this browser when storage is available. They do not submit information or complete a purchase.
Put it into practice
- Write the places you will wait, learn and take breaks beside the forecast.
- Lay out each clothing layer and identify what it contributes.
- Try the complete outfit while sitting, bending and reaching.
- Fit boots with the actual socks and check protective equipment with staff.
- Separate dry travel clothes from damp-item storage.
- Recheck weather and the school's instructions before leaving for the resort.
Before you finish
- Avoid using fashion appearance as a substitute for product purpose and fit.
- Keep a warm indoor alternative if clothing becomes unsuitable.
- Do not add bulky items under equipment after a professional fitting.
Common questions
Must I buy an expensive outfit for one lesson?
Compare rental, borrowing and buying options using actual fit and suitable condition. Ask what your provider supplies and requires before buying duplicates. A large price tag alone does not establish suitability.
How many layers should I wear?
There is no single combination for every person and mountain day. Use the forecast, garment purpose and provider guidance, then plan where adjustments can happen without losing the group.
Should I carry all my spare clothes while skiing?
Usually the practical place for the dry return bag is permitted lodge storage. Follow the school's carrying instructions and avoid taking a bulky bag onto snow just because it was convenient for the journey.
Can a hoodie replace my outerwear?
Check the garment's intended use and the actual winter conditions with your provider. An everyday item that looks warm may not provide the weather protection needed for a wet or windy lesson.