A First Ski-Lift Plan: Questions for Your Instructor and Lift Staff
A lift is part of the learning environment, not simply transport to a better view. Different lift types, loading arrangements and routes require different instructions. This guide prepares a beginner to ask questions and coordinate with staff; it deliberately does not replace the resort's loading, riding or unloading demonstration. Follow the instructor and lift attendant, and ask for assistance before entering a queue when you are unsure about either the lift or the terrain it serves.
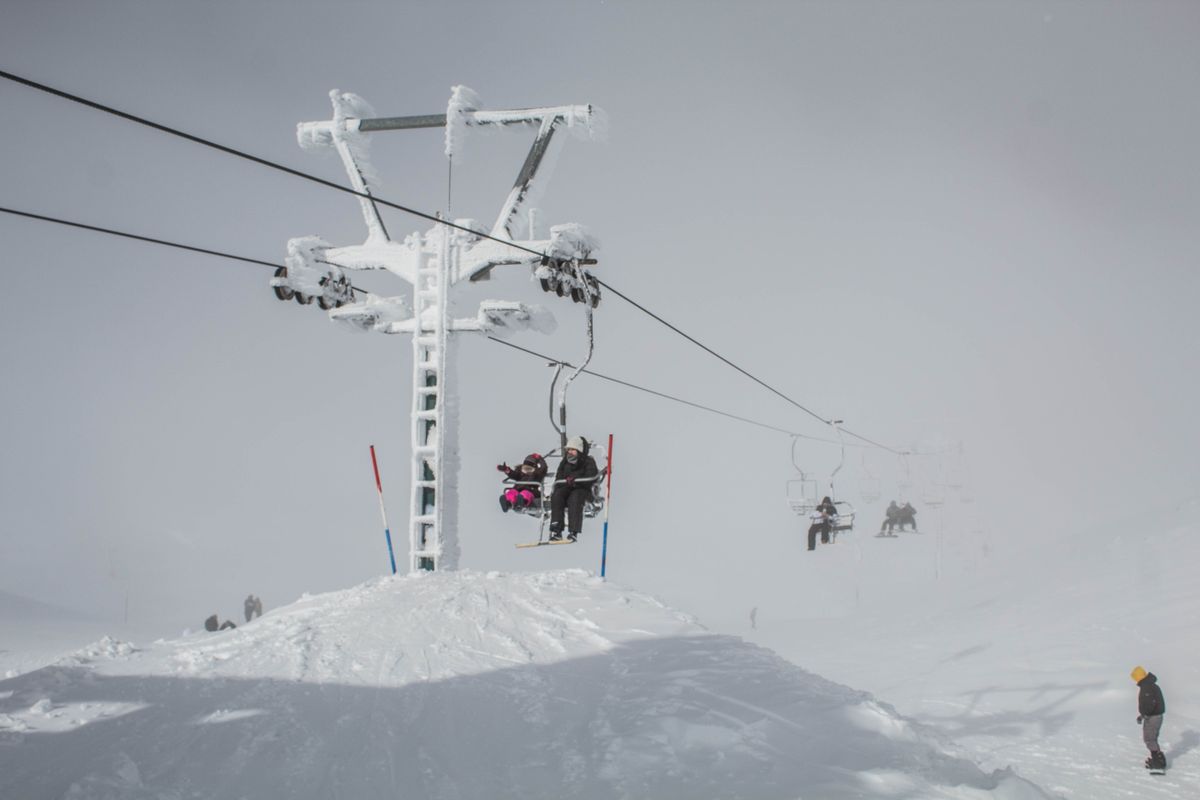
Photo: Pexels · Pexels License. Illustrative photograph of the subject; not a tested result, current condition report or endorsement. Display may crop the original.
Identify the lift used by your actual lesson
Ask the school whether the first session uses a surface conveyor, another beginner lift or a different arrangement. Find the meeting point and learning area on the current map. Do not assume the chairlift beside the rental shop is the one you need. If the plan changes on the day, ask the instructor to explain the new arrangement rather than following another class whose participants may have different experience.
Check the way down before the way up
Before boarding any unfamiliar lift, establish which open route brings you back and whether your instructor considers that route suitable for you. A lift ticket permitting access does not establish that you can manage the descent. Ask where the route finishes relative to the lesson base and what options exist if you cannot continue. Do not board simply because friends say the view is worth the ride.
Ask for the demonstration while you are still in a suitable place
Tell the instructor that you have not used this lift type before and ask them to show the local procedure. Clarify where the group will wait, when to move and how to communicate with the attendant. Use the operator's actual signs and instructions. A generic video or an explanation from another resort cannot resolve every detail of this installation, so do not treat online tips as permission to improvise.
Arrange loose equipment as staff direct
Before entering the loading area, follow instructions about poles, bags and other equipment. Remove avoidable dangling items and keep hands available as directed. If you are carrying something you do not know how to manage, ask before joining the moving process. Do not adjust a phone, take a photograph or retrieve a snack while staff need your attention. A camera plan can wait until you reach an appropriate stationary location.
Keep the lift attendant in the conversation
The NSAA responsibility guidance specifically directs people needing lift assistance to ask the attendant. State that you are a first-time user rather than hoping your uncertainty is obvious. Staff may give site-specific instructions or direct you to a different option. Listen for the actual answer; the existence of a slower lift elsewhere does not mean this lift can be operated in exactly the same way.
Ask where the group regathers after unloading
Before the ride, identify the designated place to meet after the unloading area without blocking other users. Let the instructor choose the point and explain the route to it. Do not plan to stop in the unloading path for a photo or wait where staff need the space clear. If you become separated, follow the school's agreed procedure instead of choosing a trail and expecting the class to find you.
Make the next ride a new decision
After the first use, tell the instructor what was confusing and ask to review it before repeating the process. Changing lift types or moving to another part of the mountain requires a fresh explanation. Crowds, visibility and the status of connecting routes can change during the day. Finishing one ride successfully is useful experience, but it does not automatically establish that all lifts and exits are now familiar.
Keep a base-area alternative
A manageable ski day can remain in the teaching area or end with a warm break. If lift use or the return route is beyond your current comfort or ability, ask for an appropriate alternative. Do not let an already purchased ticket turn an uncertain situation into a commitment. Save the school and resort contact information, and use staff assistance when needed rather than experimenting with an unfamiliar descent to reach the lodge.
Your working checklist
Checkmarks stay in this browser when storage is available. They do not submit information or complete a purchase.
Put it into practice
- Ask the school which lift types the beginner lesson may use.
- Have the instructor identify a suitable open return route before boarding.
- Request the local loading, riding and unloading demonstration.
- Arrange poles and other items as instructed, with the phone put away.
- Tell the attendant when you need assistance and follow the reply.
- Regroup at the designated place and review uncertainties before another ride.
Before you finish
- Do not improvise a lift procedure from a different resort.
- Do not enter closed routes or assume a ticket establishes ability.
- Keep loading and unloading areas clear as staff direct.
Common questions
Can I ride a chairlift just to look around?
Ask the operator about any permitted pedestrian product, loading conditions and return arrangements. Do not assume a ski ticket allows sightseeing use or that a novice can descend the connecting terrain.
What if my group gets separated?
Use the procedure agreed with the school before the ride. Contact staff for help rather than choosing an unfamiliar trail to catch up.
Can I film my first lift ride?
Keep attention on the instructions and equipment. Plan photographs from an appropriate stationary place after the process; do not add phone handling to a first lift experience.
Does a beginner lift work the same everywhere?
No. Ask about the actual installation and follow its signs and staff. Surface lifts, conveyors, chairs and gondolas are different arrangements, and local procedures matter.